
When you share a classroom with 25 people, it’s almost impossible to have enough of anything for everyone to share. It was always a great day when every student even had just their pencil. But with technology becoming a more important tool in our lives, how do we make sure that students get the opportunity to use our devices? We’ve spent the last year and a half learning how to present our lessons in a way where technology replaces paper and pencil, but how does that work when we don’t have enough technology to go around?
If you’re like me, you have a bucket of random old technology sitting in a closet collecting dust. Well, a random camera or an old cell phone are perfect little tools for your classroom! Take them out of that drawer, throw them in your teacher bag, and take them to class! This post is all about making the most out of technology, even when you don’t have enough devices for each student.
And don’t stop looking just at your home. You can put out a request for any of the items that are mentioned in this post! If your neighborhood has a community Facebook group, that’s an amazing place to ask for donations. You can also create an Amazon Wishlist and invite your classroom parents, family members, friends, or even social media followers to support you by purchasing an item for your classroom. There are tons of ways that you can come across techy devices that will be amazingly useful for your students! Now let’s think about some tech stuff that you just might need!
Students love completing activities that require picture-taking. In a science class, students can take pictures of their growing lima bean to document daily changes. In a language arts class, students can take pictures of themselves doing actions as part of a verb lesson. Students can also show their work on a dry erase board and then take a picture of it to show what they know. A digital camera is one of those things that a lot of people seem to have laying around their house. Just ask your friends if they have an old one. I’m willing to bet they do, and that they would be happy to donate it to your classroom.

You can use an old cell phone that doesn’t have a sim card and/or a service plan as long as you can connect it to your school’s Wifi. Having a few of these on hand are great if you want your students to have access to simple apps, such as a dictionary app or a calculator. You can have students use them to check QR codes as part of a self-checking activity, play games such as Kahoot, take pictures, and much more. Cell phones are nice because they are so small and portable.
Many schools I’ve encountered have had several iPads that the teachers have access to. It seems as though most classrooms that have iPads one-to-one are lower elementary classrooms. But even if you only have one or two iPads, you can still get some great use out of them with your students. It’s rumored that the 9th generation iPad is coming out soon! That means someone you know likely has an old version they are no longer using. As long as you can connect your iPad to the school’s Wifi, there are thousands of ways you can use it!
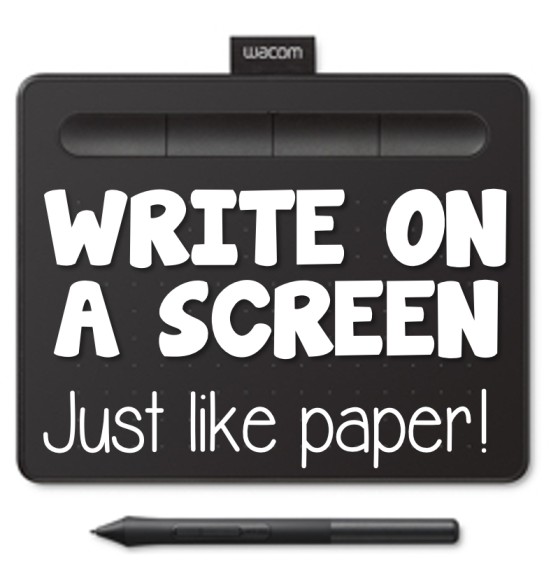
Here’s a picture of the one I use! I love it so much!
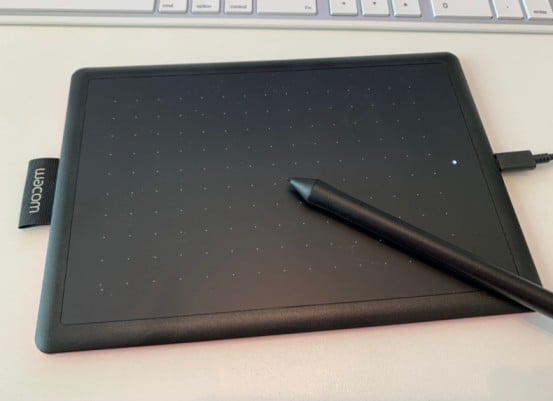
One of my absolute most favorite pieces of technology is my Wacom tablet. This is because I am a huge fan of blended and technology-based learning. As a teacher, I create video lessons that students can access when they’re ready to learn. For my students, I allow them to create videos to show me what they can do. It’s a great formative assessment! Having a Wacom tablet allows me to create screen recording videos that include a teaching style similar to what I would do during whole group while I’m standing in front of my whiteboard. Have you ever tried to use your mouse to draw a math problem on a digital dry erase board? It’s next to impossible! But with a Wacom pen tablet, you can write, draw, erase, change colors, and so much more! I have made literally hundreds of teaching videos using my pen! There’s no way I could have taught the skills as effectively without my tablet. Yes, you could prop up your cell phone to record yourself writing on a piece of paper with a pencil or marker, but then you lose the ability to show your screen as well.
A pen tablet has so many more uses for students other than just using it to create assessment videos. Throughout the pandemic, when we were teaching virtually, I’m sure you had occasions when you wanted students to complete work but it wasn’t really something they could do on a computer. For example, your students may have needed to show their work solving the addition of fractions. Since our keyboard doesn’t have an easy way to write fractions or show our computations, it makes it really difficult for students. Other times, students might be working on projects that require illustrations. For example, in our figurative language unit, we had students illustrate what different idioms meant. Illustrating digitally on a laptop is frustrating, to say the least! But a Wacom tablet allows students to do anything they could do on paper on their computer.
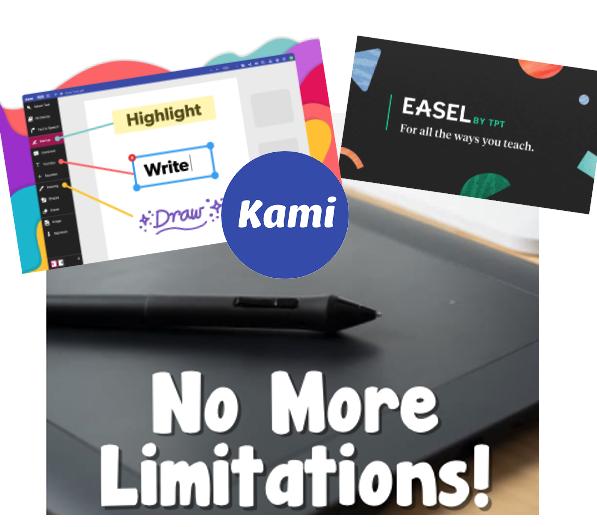
By the way, if you use Kami or TpT’s Easel Activities, a digital pen makes these programs even more amazing than they already are!
I remember my first iPod touch! It was amazing to have all those songs at my fingertips! MP3 players are great for audio books, soothing background music for writing, or even short brain breaks!
Most libraries still have plenty of books on tape that you can check out for your students. So even though we’re deep in the digital age, traditional radios with a tape or CD player are still really useful in a classroom.
Digital reading devices are also great to have in your classroom! My public library has a system for checking out digital books. What’s nice about it, is that it’s free to check out, and you don’t have to remember to turn the books back in. Once the check-out period is over, the books are automatically removed from your device. No late fees or remembering to go back to the library to return your books.

Many schools have educational toys (for a lack of better words) that you can check out for your class. Also, I’ve seen teachers write up grants to get specific technology pieces that their students would love. For example, my school got a set of Dash and Dot Robots. They were definitely a class favorite during our monthly maker space time when my students had access to them. Why not put something like this on your Amazon wish list?
Technology is great, but what do you do if you don’t have 1:1 devices in your classroom? It can seem overwhelming, but here is what helped me facilitate sharing in my classroom.
Strategy #1: Stations
Stations (or centers) will give all of your students access to the technology that you do have available in your classroom at different times throughout the day or week. This worked out wonderfully in my classroom when I only had several devices for all of the students to share! Here’s an example of the stations I had going on in my classroom during Reader’s Workshop when I was teaching character traits. The students were able to rotate through each station twice a week and have 30 minutes at each station.
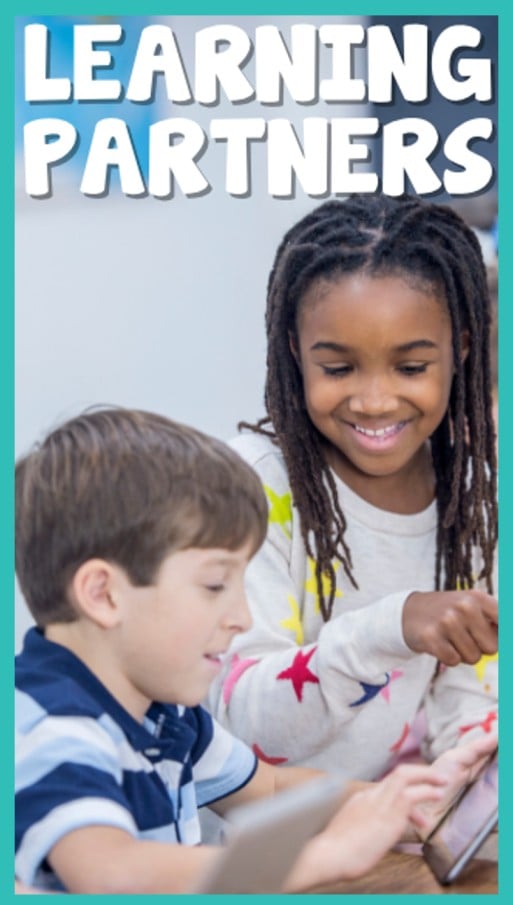
Strategy #2: Learning Partners
Learning partners are great to use when you have a limited number of technology devices in your classroom. There may be a day when you want all of your students on technology at once to review for an upcoming test using Quizlet or even to complete a digital assignment through Easel or Google. Depending on how many devices you have available, you can divide your students into learning pairs of 2’s, 3’s, or 4’s. I was lucky enough to have a device for every two students in my classroom, so I assigned each person one learning partner. As I made these partners, I thought about their personalities, and who would work best with each person. Once you’ve assigned your learning partners, or up to groups of four per device, you’ll be amazed to see students engaged and focused on their digital learning. It’s always better when you can talk through an assignment or activity with another student in the classroom AND your students will be learning the valuable lesson of working collaboratively with others.

Strategy #3: Parallel Assignments
One of the amazing things about education today is the focus on learning standards and the individual students instead of grades. Parallel assignments are two or more different activities that focus on the same learning outcome. Parallel assignments are a great way to utilize technology when there aren’t enough devices to go around. For example, let’s say that you’re in the geometry unit and you’re practicing finding geometric figures in the real world. Here are three parallel assignments with the same learning outcome:
Technology: none
Students will complete math book pages 145-148 (Geometry in the real world)
Assessment – Teacher will grade the practice pages
Technology: digital camera or iphone
Students, in a small group, will travel throughout the school taking pictures of geometry in the real world.
Assessment – Students will show the pictures they took to the teacher and verbally label the geometric figures within each picture
Technology: computer and pen tablet
Students will find real world photographs on the internet and copy and paste them into a PowerPoint file. Then they will use their digital pen to trace the geometric figures they found within their photographs. They can use the pen or text boxes to label their figures.
Assessment – Teacher will check the work on the PowerPoint file.
At first, some students may feel like it’s not fair that they had to work out of the book while other students got to go on a trip around the school. But with lots of parallel assignments and a reminder that they’re turn might be next, students will come to appreciate the opportunities they’ll get to include technology in their learning.

You can get your own editable copy of the Google Form or the Printable QR code template by clicking on the link. They will automatically prompt you to make copy.
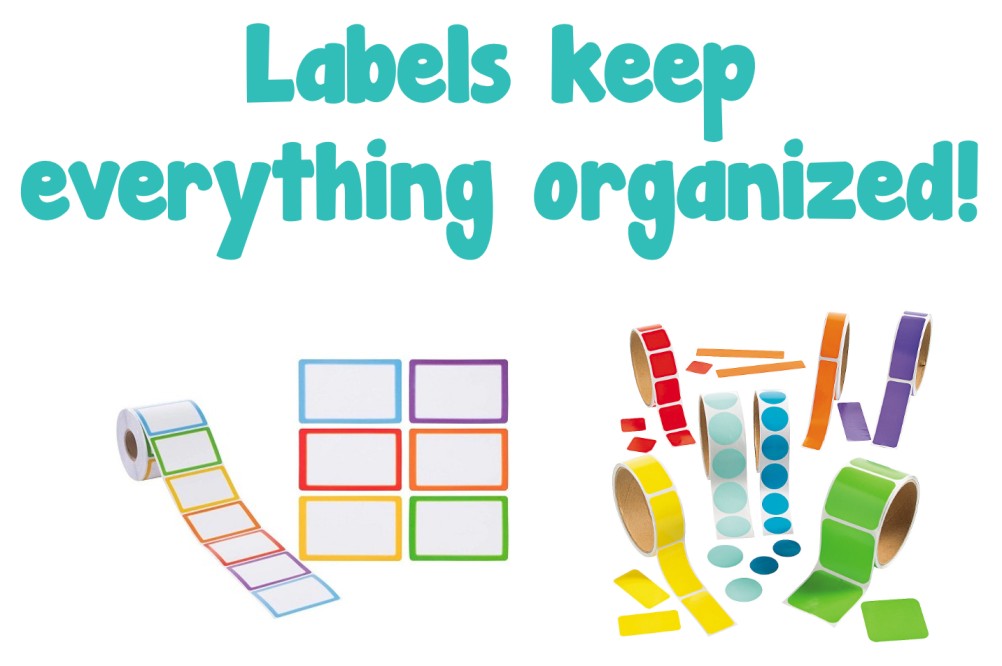
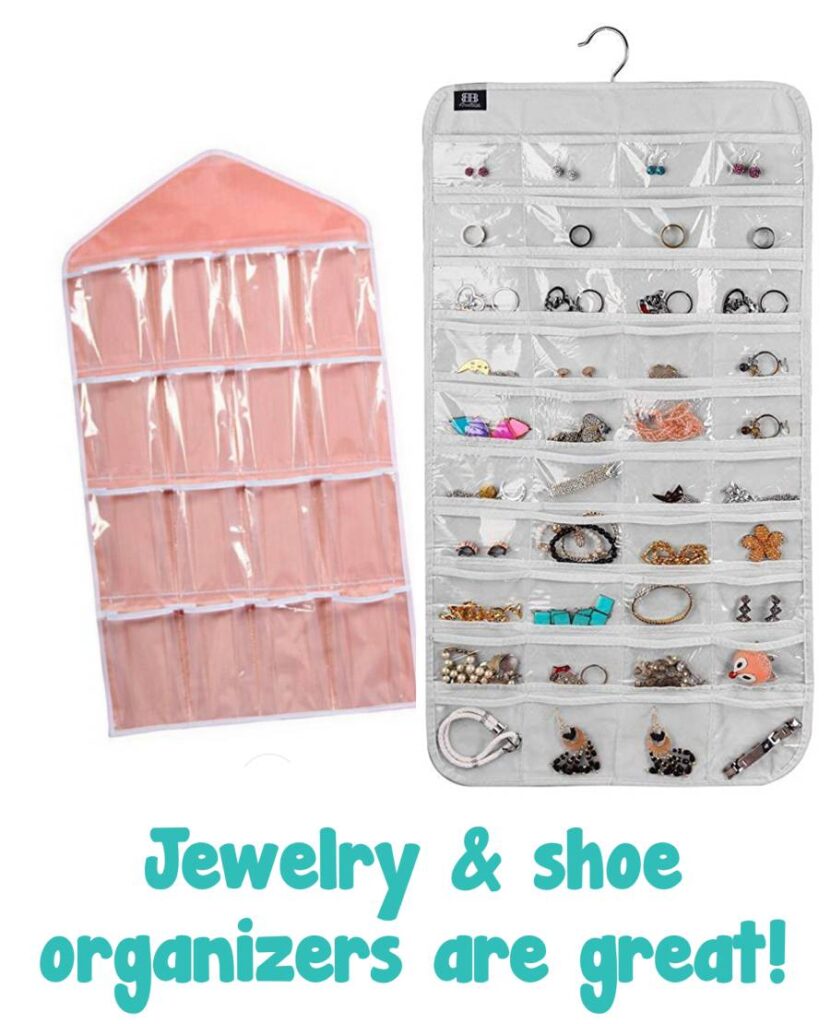
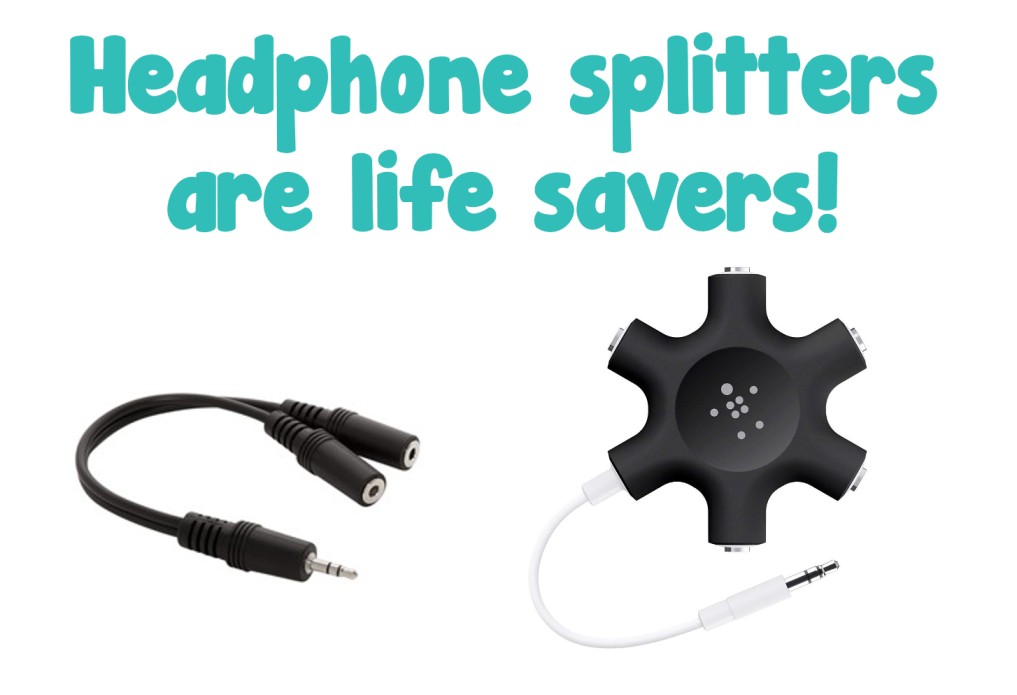
I’ve got the classroom technology, now how do I keep it organized? If your students are like mine, they get excited and can’t wait for their turn on the Kindle, iPad, iPhone, tablet, etc! In order to ensure that all students are getting time with technology, I make a rotation schedule where I list out exactly what technology I’ll be using for the week in each station. From there I assign students to start at a particular station and rotate them through each station throughout the week. If you make your rotation schedule on Google Slides, you can easily project it on your board so all students know where to go. Now to organize the technology itself!
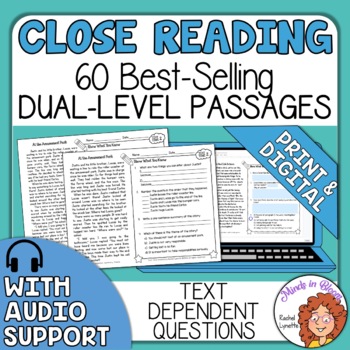
You might like this reading comprehension resource because it includes audio texts!


Minds in Bloom

We built our reputation on quality. With a history of over 12 million downloads by more than a million teachers, you can trust Minds in Bloom to provide standards-based learning materials your students will love!
Quick Links